Table of Contents
Hanging curtains seems simple enough—mount a rod, slide on the fabric, done. But if you’ve ever walked into a room where the curtains just look… off, you know that execution matters. Curtains hung too low, too narrow, or with the wrong proportions can make a beautiful room feel cramped and unfinished.
The good news? The difference between amateur and professional curtain hanging comes down to a few simple rules that anyone can follow. Master these techniques, and your windows will look like they were styled by an interior designer.
In this comprehensive guide, we’ll walk you through everything you need to know about hanging curtains—from measuring and hardware selection to the installation process itself.
Tools and Materials You’ll Need
Before you begin, gather these essential tools:
- Tape measure
- Level
- Pencil
- Drill with appropriate bits
- Screwdriver
- Stud finder (for heavy curtains)
- Wall anchors (if not mounting into studs)
- Step ladder
- Curtain rod, brackets, and finials
- Curtain panels
The Two Golden Rules: High and Wide
Interior designers have two mantras when it comes to curtain placement: hang them high and hang them wide. These simple principles can transform how your windows—and your entire room—look.
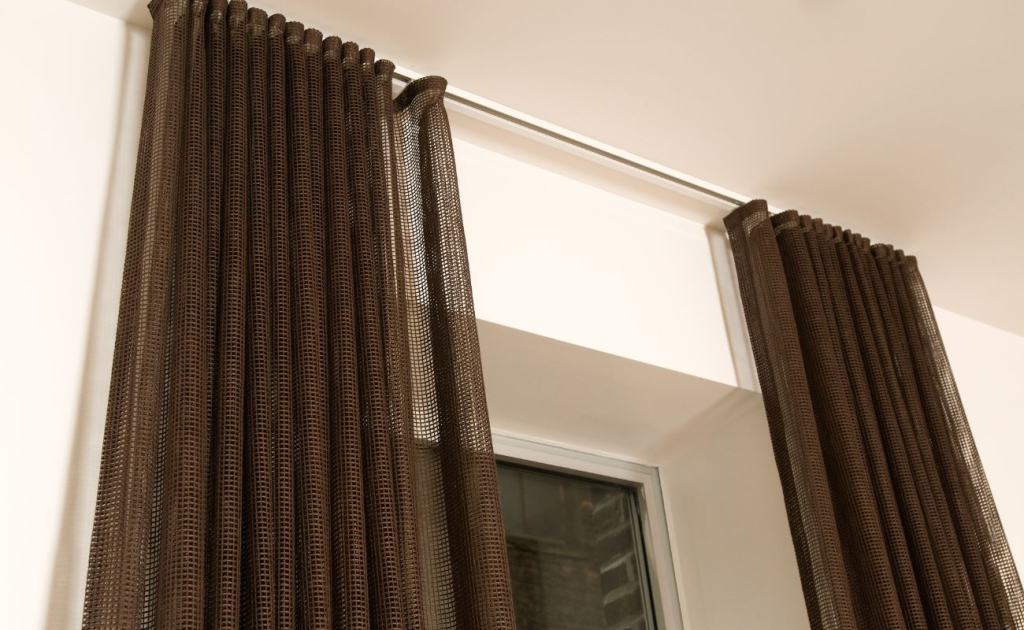
Hang Curtains High
Mount your curtain rod as close to the ceiling as possible—ideally 4-6 inches above the window frame, or even higher. This creates the illusion of taller windows and higher ceilings, making the entire room feel more spacious and elegant.
If your ceiling has crown molding, mount the rod just below it. For rooms with very high ceilings (10+ feet), you can mount the rod about 8-12 inches above the window frame rather than at the ceiling.
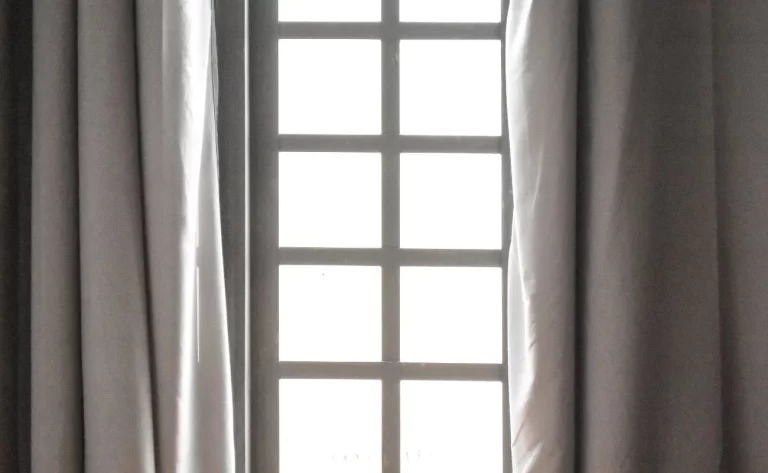
Hang Curtains Wide
Extend your curtain rod 8-12 inches beyond the window frame on each side. This serves two purposes: it makes the window appear wider, and it allows curtains to stack completely off the glass when open, maximizing natural light.
When curtains cover the wall beside the window rather than the glass itself, your room gets significantly more light during the day—a small change with a big impact.
How to Measure for Curtains
Step 1: Measure for Rod Placement
First, determine where your rod will go. Measure from the ceiling (or your chosen mounting height) to where you want the bottom of your curtains to fall. Then measure the width of your window frame and add 16-24 inches total (8-12 inches per side) for rod length.
Step 2: Determine Curtain Length
Curtain length depends on the look you want:
- Float: Curtains hover 1/2 inch above the floor—clean and practical
- Kiss: Curtains just touch the floor—the most popular choice
- Puddle: Curtains pool 1-3 inches on the floor—romantic and luxurious
Measure from your rod position (accounting for rings or clips if using them) down to your desired ending point.
Step 3: Calculate Curtain Width
For properly full curtains, the total width of your panels should be 1.5 to 2.5 times the width of your window. So for a 48-inch window, you’d want 72-120 inches of total curtain width. This fullness creates beautiful folds and a luxurious appearance.
Step-by-Step Installation Guide
Step 1: Mark Your Bracket Positions
Using your measurements, mark where your brackets will go with a pencil. Use a level to ensure both marks are at the same height—crooked curtains are surprisingly noticeable and frustrating to fix.
Step 2: Locate Studs or Install Anchors
Use a stud finder to locate wall studs. If your bracket positions align with studs, you can screw directly into them. If not (which is common), you’ll need to install wall anchors rated for the weight of your curtains and rod.
Pro Tip: Heavy curtains like velvet or lined drapes need sturdy support. Always err on the side of stronger anchors or mounting into studs when possible.
Step 3: Install Brackets
Drill pilot holes at your marked positions. If using anchors, tap them in gently with a hammer. Then screw your brackets firmly into place. Test each bracket by tugging gently to ensure it’s secure.
Step 4: Prepare Your Curtain Rod
Before placing the rod in the brackets, slide on your curtain panels. If using rings, clip or hook the curtains to the rings first. Attach one finial to the rod.
Step 5: Hang the Rod
Lift the rod (with curtains attached) and set it into the brackets. Attach the second finial. Step back and check that everything looks level and even.
Step 6: Adjust and Style
Distribute your curtain panels evenly across the rod. Smooth out any bunching and arrange folds for a polished look. If your curtains have creases from packaging, steam them or let them hang for a few days to relax.
Common Curtain Hanging Mistakes to Avoid
- Hanging too low: Mounting at window frame height is the #1 mistake—always go higher
- Skimpy panels: Curtains that are too narrow look cheap—invest in proper fullness
- Wrong length: Curtains that stop at the windowsill or mid-wall look unfinished
- Ignoring proportion: Rod diameter should match curtain weight—delicate rods can’t support heavy drapes
- Skipping the level: Eyeballing leads to crooked curtains—always use a level
Frequently Asked Questions
How high above the window should curtains be hung?
Hang curtain rods 4-6 inches above the window frame for standard ceilings. For the most dramatic effect, hang them as close to the ceiling as possible.
Should curtains touch the floor?
For most rooms, yes—curtains should either just touch the floor or hover no more than 1/2 inch above it. This creates a finished, intentional look.
How wide should curtains be compared to the window?
Curtain panels should have a combined width of 1.5-2.5 times your window width for proper fullness. The rod should extend 8-12 inches beyond the window frame on each side.
Hang Curtains with Confidence
Properly hung curtains can transform a room—making ceilings feel taller, windows feel larger, and the entire space feel more polished and intentional. The key is following the “high and wide” principle, measuring carefully, and using appropriate hardware for your curtain weight.
With the step-by-step guide above, you have everything you need to hang curtains like a professional. Take your time with measurements, use a level, and don’t be afraid to hold panels up before drilling to visualize the final result.
Need professional curtain installation? The Curtain USA offers expert installation services throughout New Jersey. Contact us for a free quote and let our team create the perfect window treatments for your home.