Table of Contents

You’re here because you want to know how to measure and install blinds without second-guessing yourself, wasting materials, or calling in an expensive pro. Great news—you can absolutely handle it on your own. In the next few minutes you’ll learn which tools you need, the exact measurements to take, and the smartest way to mount and secure your new blinds so they look straight, operate smoothly, and last for years.
Why Precise Measuring Matters
Blinds that are even ⅛-inch off can scrape the frame, leave light gaps, or refuse to close properly. Accurate measuring saves you:
- Money—no paying return fees or reordering the wrong size.
- Time—no standing in the customer-service line twice.
- Peace of mind—no crooked headrails driving you crazy whenever you walk into the room.
Pros emphasize that a perfect fit always starts with precise, repeatable measurements taken down to the nearest ⅛-inch.
Inside Mount vs. Outside Mount: Choose Your Look
Mount style | Visual effect | Best for | Key measurement note |
Inside mount (blinds sit inside the window frame) | Sleek, built-in appearance that shows off trim | Deep window frames, modern interiors | Smallest width inside the frame; verify frame depth so the headrail clears mullions |
Outside mount (blinds cover the frame and overlap wall/trim) | Makes windows look bigger, hides imperfect frames | Shallow frames, renters who can’t drill inside casings | Add overlap—at least 1½ in. per side for blinds; 2 in. per side for roller or solar shades |
Gather Your Tools
- Steel tape measure (never cloth—stretch creates errors)
- Pencil and scratch pad (or phone notes)
- Step stool or ladder
- Level
- Drill/driver + bits
- Fasteners (screws/anchors) supplied with your blinds
- Flat-head and Phillips screwdrivers
- Safety glasses
Step-by-Step Measuring Instructions
1. Prep Your Windows
Wipe dust from the frame and sill; dirt can throw off measurements. Label each window (“Living-Rm-East,” “Bedroom-1”) so you don’t mix numbers later.
2. Measure Width—Three Times for Inside Mount
- Measure at the top, middle, and bottom inside edges.
- Record the narrowest width to the nearest ⅛-inch; round down if the tape lands on a 1⁄16-inch mark
3. Measure Height—Again, Three Times
- Stick the tape on the inside left jamb and pull to the sill.
- Take height at left, center, right.
- Use the longest measurement (inside mount) to ensure full coverage.
4. Confirm Depth Clearance
Most headrails need 1½ – 3 in. of depth. Check manufacturer specs; if your frame is shallow, consider an outside mount.
5. Measure for Outside Mount
- Width: Measure the opening and add 3 in. total—that’s 1½ in. overlap each side. For roller or solar shades, add 4 in. total.
- Height: Measure from top of intended headrail position to where you want the bottom rail to rest (still or floor). Add an extra inch for full light block.
6. Double-Check and Label
Re-measure every window—even “identical” side-by-side units vary. Note width first, height second (W × H) to avoid swapping numbers.
Ordering Your Blinds: Reading Size Options
- Inside mount: Order the exact window opening size; manufacturers deduct a tiny allowance so blinds won’t bind.
- Outside mount: Order your full finished size including overlap; what you enter is what you’ll get.
Pre-Install Prep
- Lay out brackets, screws, valance clips, and the headrail on a clean surface.
- Charge power tools and pick the correct drill bit size.
- If mounting into drywall (outside mount), pre-drill and use wall anchors rated for at least 25 lb.
- Keep pets and kids clear; falling brackets are sharp.
Installing Inside-Mounted Blinds
1. Mark Bracket Positions
Hold the headrail inside the frame, 2 in. from each side. Use a pencil to mark screw holes. Check the rail with a level before drilling.
2. Install the Brackets
Drill pilot holes, then drive screws through bracket slots into the top jamb (or side jambs if manufacturer instructs).
3. Snap in the Headrail
Insert the headrail front-first, then rotate upward until it clicks. Tug gently to confirm lock-in.
4. Attach the Valance and Safety Devices
Clip the valance on. Mount cord cleats or tensioners at least 36 in. above the floor to keep cords out of children’s reach.
Installing Outside-Mounted Blinds
1. Locate Studs or Use Anchors
Studs are ideal, especially for heavy wood or faux-wood blinds. If you must mount over drywall, use toggle or expansion anchors.
2. Measure and Level the Brackets
From the sill or floor, measure up to the planned headrail height on both sides; mark. Use a level line across the marks to avoid sagging.
3. Secure Brackets and Headrail
Pre-drill, insert anchors (if needed), drive screws, and snap in the headrail. Check operation—slats should tilt and lift freely without rubbing trim.
Special Situations
Window/door type | What changes | Quick tips |
French or patio doors | Limited depth, moving panels | Opt for slim headrail 1 in.–1¼ in.; anchor lower hold-down brackets so blinds don’t swing |
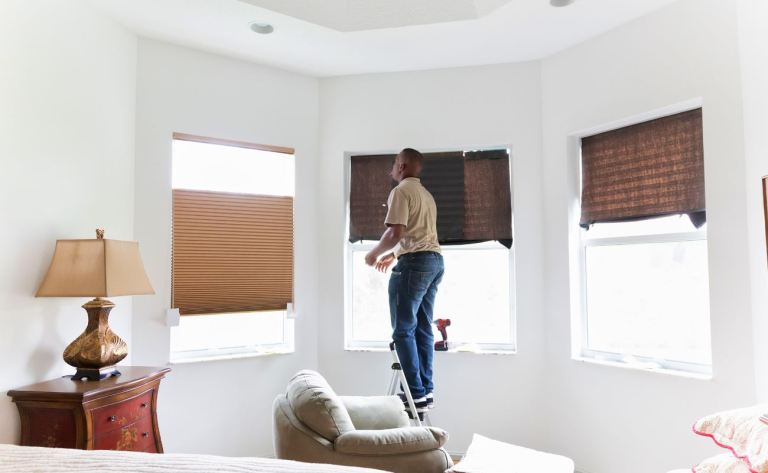
Bay or bow windows | Angled walls, multiple surfaces | Measure each section individually; buy separate blinds to maintain consistent reveals |
Extra-wide openings | Heavy headrails | Install a center support bracket every 24–30 in. to prevent bowing |
Finishing Touches
- Cord safety: Loop cords around included cleats every time you raise the blinds.
- Squeaks or stiffness: Lightly spray silicone lubricant on tilt mechanism (avoid oil-based sprays).
- Light gaps on outside mounts: Add side-return pieces or install a light-blocking strip of foam tape on trim.
- Motorization: If you upgrade later, make sure the headrail is “motor-ready”—many brands let you retrofit a battery motor without removing brackets.
Troubleshooting FAQs
Blinds are too wide and won’t snap in
File ¹⁄₁₆ in. off each end of the headrail with a metal rasp, or return for factory cutting.
Blinds tilt but don’t lift
Check that lift cords aren’t tangled around ladder strings inside the headrail; reset by lowering fully, tilting open, then raising.
Uneven bottom rail
Raise blinds fully, then pull gently downward on the shorter side to realign internal drums.
Wrap Up With Confidence
You now have everything you need to measure and install blinds like a pro—from grabbing the right steel tape to leveling that final valance clip. Take your time, trust your measurements, and double-check each step. When you stand back to admire perfectly hanging slats that glide up and down without a hitch, you’ll know your careful prep paid off. Enjoy the upgrade—you earned it!