Most drapes that look wrong were hung wrong, not bought wrong. Learning how to hang drapes comes down to three numbers: how high the rod goes, how far past the glass it runs, and how much fabric you put on it. We measure and install window treatments in Bergen County homes, and the same few decisions separate panels that look tailored from panels that look like they were pulled off a shelf. Here is the order we work in.
Short answer
Mount the rod 4 to 6 inches above the window frame, higher if you have the wall for it, and run it 6 to 12 inches past the glass on each side so the panels stack off the window. The two panels together should measure at least twice the window width. Hang everything first, then steam and dress the folds before you judge the result.
Elevate Your Space with Perfectly Hung Drapes
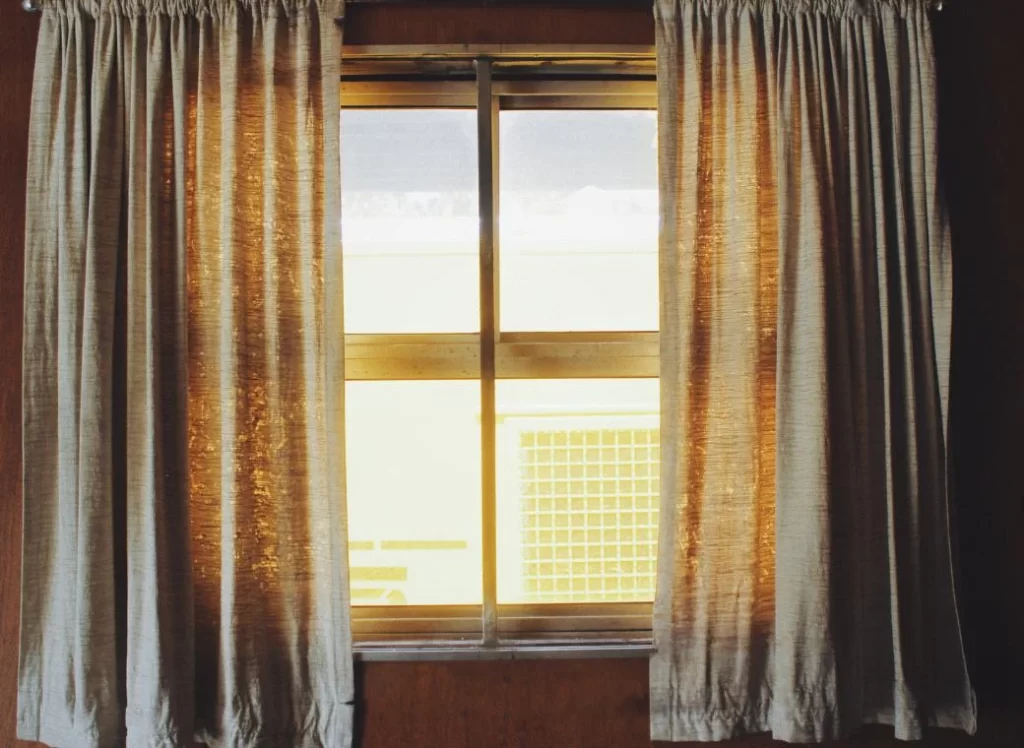
Hung right, a pair of panels reads as part of the architecture. Hung wrong, it reads as fabric stuck to a wall. The difference is mostly mount height and stack width. A rod set right on top of the casing shortens the wall and buries the top of the glass. Moved up toward the ceiling line and out past the trim, the same rod makes the window look taller and wider and lets the panels clear the glass when they are open. Everything below follows that order: measure, choose hardware, mount, then dress.
Why Drapes Matter in Your Home
Drapes do two jobs at once. They control privacy, light and temperature, and they bring color and texture into a room without adding furniture. Hung correctly they can:
- Make ceilings look higher and windows look larger.
- Soften hard lines and blank corners.
- Add an insulating layer at the coldest surface in the room. A lined panel matters in a New Jersey January, and thermal linings push that further.
- Tie together decor that does not otherwise agree.
All of that starts with planning and measuring, which is where most of the work actually is. If you are still deciding what belongs on the window at all, start with the window treatment options and work back to fabric.
Gathering the Essentials
Get everything on the table before you drill a single hole.
- Measuring tape, steel rather than cloth, so the numbers do not stretch.
- Pencil and a 2-foot level, not a phone app.
- Drill and screws to set the brackets.
- Wall anchors for anywhere you cannot hit a stud. In older houses you may find plaster and lath instead of drywall, which calls for toggle anchors rather than the plastic sleeves in the rod box.
- Rod, brackets and drapes in the right finish, finished length and header style for each other.
Measuring for Your Drapes
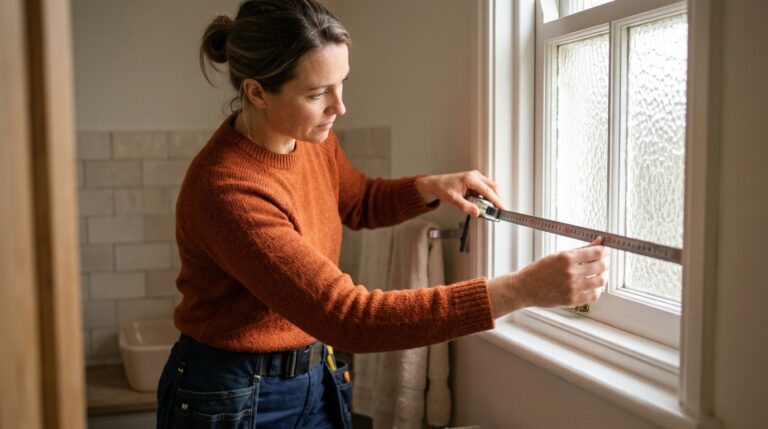
- Width. Measure the window edge to edge, then add 6 to 12 inches on each side for the rod. That extra run is where the panels park when they are open, so the glass stays clear and light does not leak down the sides.
- Height. Measure from the rod position down to where you want the hem to land. Four to six inches above the casing is the minimum. Decide the break before you order: just off the floor, kissing the floor, or puddled. Our take on that is in should curtains touch the floor.
- Rod extension. Buy a rod that reaches your finished width without being fully extended, so it has a little travel left.
- Fullness. Combined panel width should be at least twice the window width. Two and a half times is where pleated drapery starts to look genuinely custom, and it is the reason a pleated header holds its folds while a flat panel sags.
Measuring for custom drapery is the step we do free in your home, with the quote in writing.
Choosing the Right Hardware
- Rod material and diameter. Metal reads modern and carries weight well. Wood reads traditional and needs a thicker diameter for the same span. Heavy lined panels on a wide window bow a thin rod in the middle.
- Center support. Anything past about 6 feet gets one. Ring-style panels need a support bracket with a pass-through so the rings can travel.
- Finials. They add 2 to 4 inches per side, so measure the wall you actually have.
- Layering. Sheers behind drapes need either a double bracket or a track behind the decorative rod. Our comparison of double and single rods covers the tradeoff.
More detail on brackets, returns and finish matching sits in our curtain rod and hardware guide and the walkthrough on hanging curtain rods. Renting and not allowed to drill? See hanging curtains without drilling.
Step-by-Step: How to Hang Drapes
1. Mark the bracket placement
Transfer your measurements to the wall in pencil. Brackets sit 4 to 6 inches above the casing and 6 to 12 inches out on each side. Mark both sides, then hold the level across the two marks before you trust them. A quarter inch of error at the bracket becomes a visible slope across a 10-foot window.
2. Install the brackets
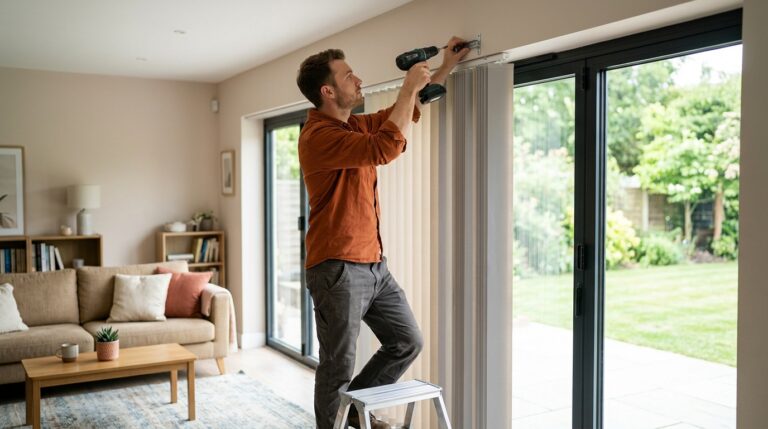
Drill pilot holes so the wall does not crumble. Where there is no stud, set your anchors first and seat them flush. Screw the brackets down tight without stripping the heads, then pull down hard on each one. A bracket that moves now will fail later under a lined panel.
3. Attach the rod and panels
Load the panels onto the rod on the floor, not overhead. Feed the rod through grommets or the top pocket, or clip the rings on evenly. Then lift the whole assembly into the brackets and check that both ends are fully seated.
4. Adjust the drapes
Space the rings or grommets evenly, then hand-form the folds from the top down so each one falls the same way. Step back to the far side of the room and look at the hem line. That is where an out-of-level rod shows, not up close.
Finishing Touches
- Steam the panels on the rod. Fold creases from the box will not fall out on their own. Here is how to get wrinkles out of curtains without scorching the fabric.
- Train the folds. Dress the panel into even folds, tie it loosely with fabric strips or ribbon, and leave it for a few days. The fabric holds that memory afterward.
- Add tiebacks or holdbacks if you want more daylight and a look at the hardware.
- Put a sheer behind the drape for daytime privacy that still passes light. We cover the combinations in how to layer curtains.
Common Mistakes to Avoid
- Hanging too low. A rod set right above the frame visually chops the wall. Mounting higher is the cheapest way to make a room feel taller.
- Neglecting the width. A rod that stops at the casing forces the open panels to sit on the glass. You lose light and the window looks pinched.
- Skipping the steaming. Wrinkles make expensive fabric look cheap, and they are the first thing a guest notices.
- Overlooking weight support. Undersized brackets, a thin rod or a missing center support end in sagging rods and torn drywall.
- Guessing measurements. Eyeballing width or drop gives you short panels and uneven hems, and fabric cut wrong cannot be uncut.
Styling Ideas and Inspiration
- Floor to ceiling. Running the rod near the ceiling and the hem to the floor is the strongest move on a tall room. See floor to ceiling curtains.
- Cafe height. Half-height panels in a kitchen or breakfast nook give privacy at eye level and keep the counter bright. More on cafe curtains.
- Layers. Sheer plus opaque on one bracket lets the same window work at noon and at 10 p.m.
- Color and pattern. One patterned panel can set the palette, or neutrals let the view carry it. See finished rooms in our gallery.
What we would put on the window
- Living room with a foot of wall above the trimRod at the ceiling line, pleated panels to the floor at 2.5 times fullness.
- Sliding door to the deck or patioCeiling-mounted track run wide enough that the panels stack completely off the glass.
- Bedroom facing a street lightLined room-darkening panels over a blackout cellular shade so light does not spill at the edges.
- Wide window wall you use all daySheers on the outer rod, heavier panels on the inner rod, both on one double bracket.
From our own installs in Bergen County
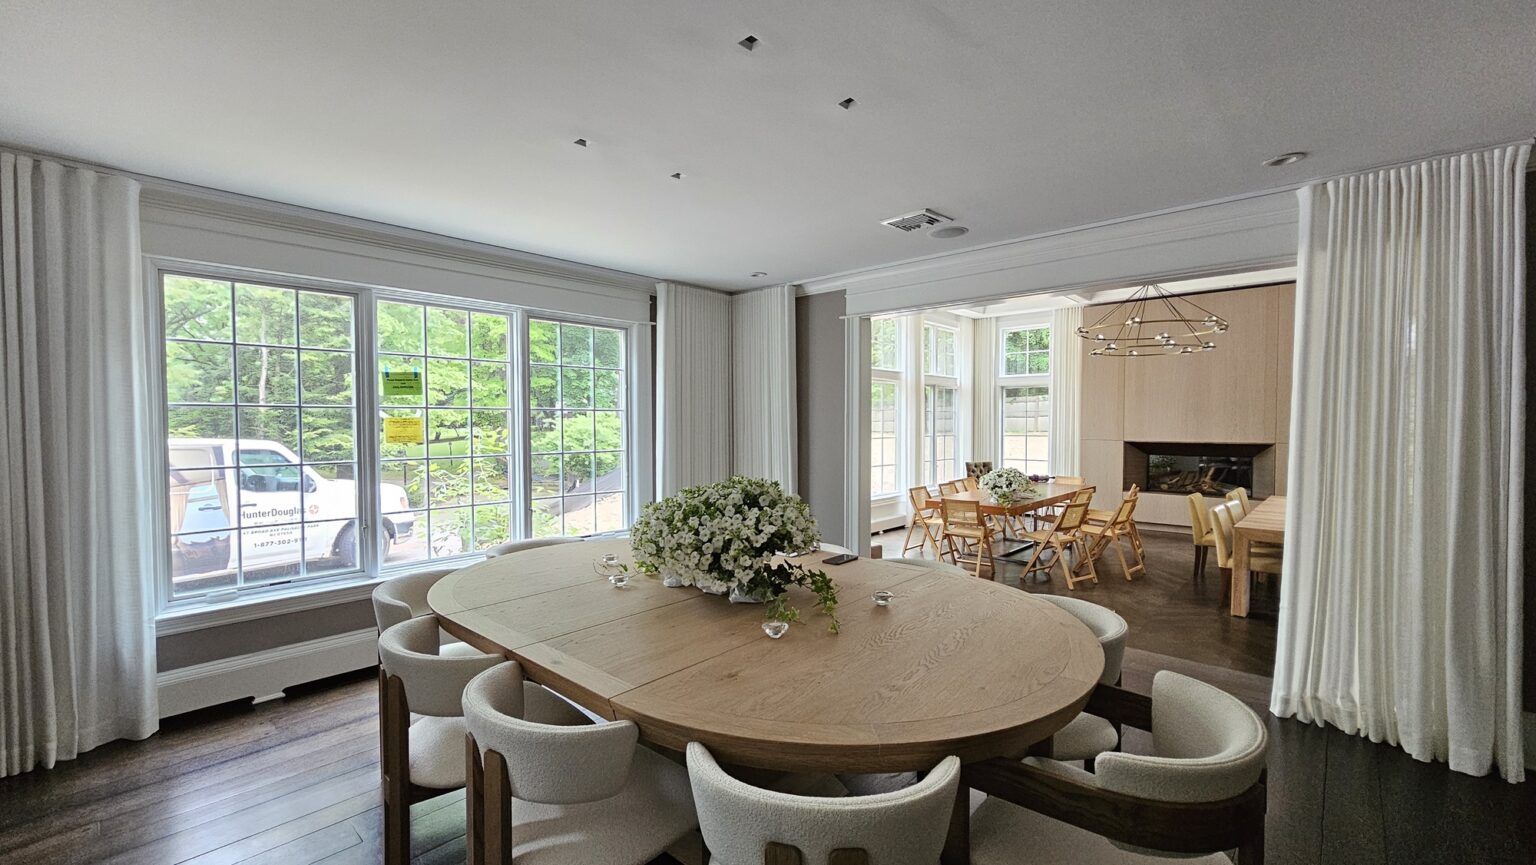
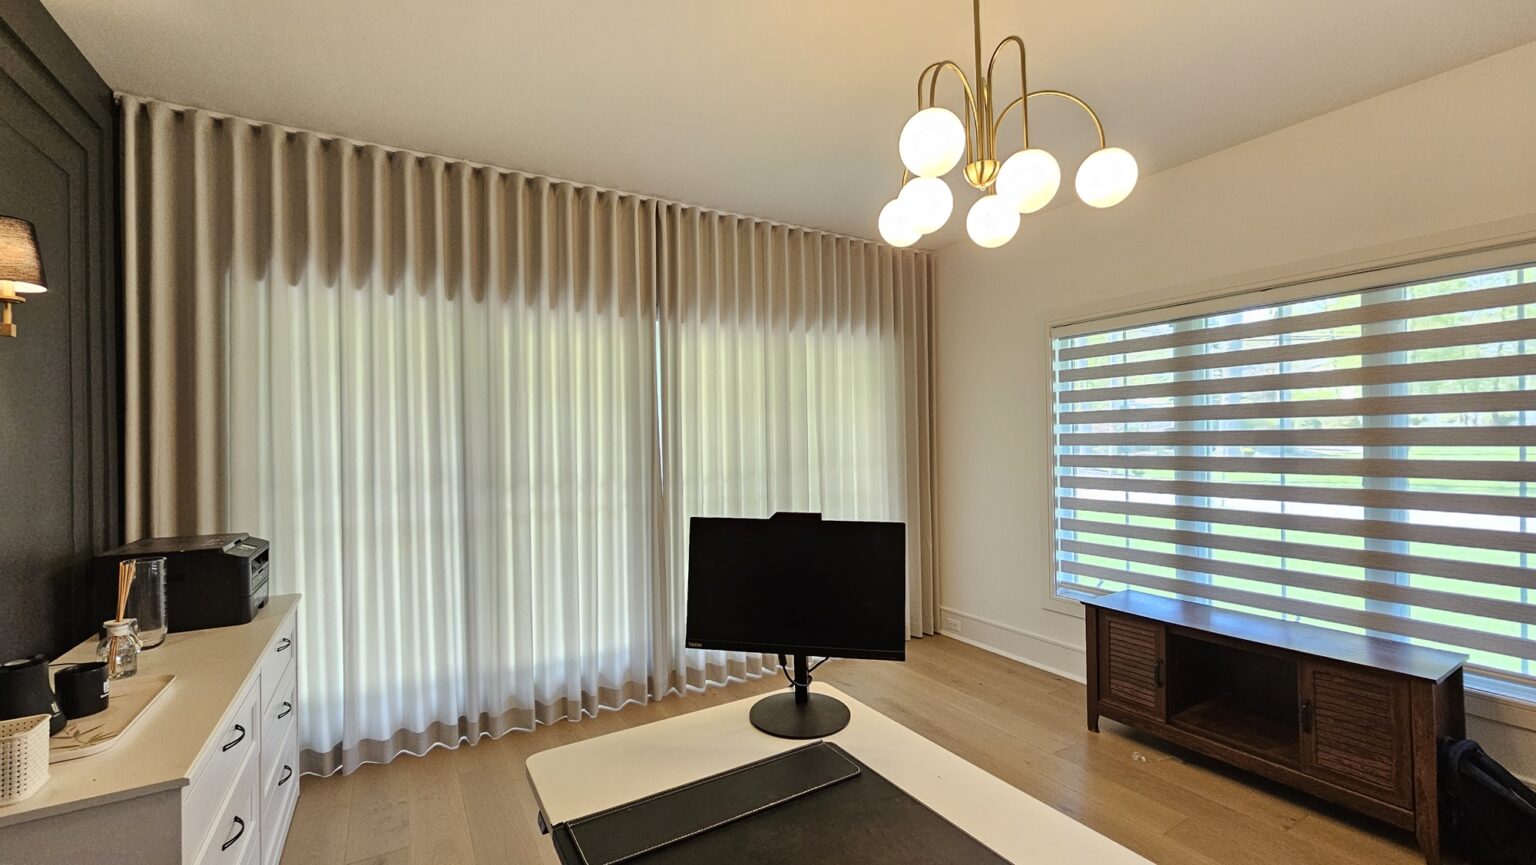
Have Us Measure and Hang Them Instead
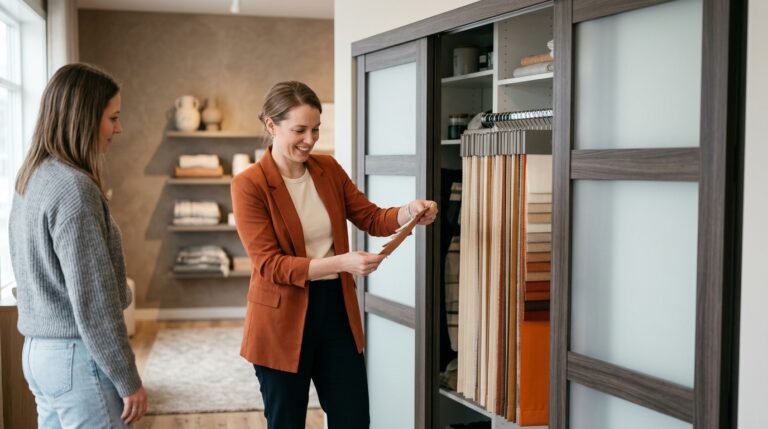
The Curtain is a family-owned window treatment showroom at 547 Broad Ave in Palisades Park, and we have been fitting Bergen County windows since 2007. Owner and designer Sejun Park runs the shop, so you can see fabric, lining, pleat style and hardware in person instead of picking from a catalog page. We are a Hunter Douglas partner for shades, blinds and shutters, and we make custom drapery, so panels and hardware get specified together instead of forced to match later.
Measuring is free and happens in your home, and the quote comes in writing. We install what we sell, which makes bracket placement, mount height and fullness our problem instead of yours. Call (201) 302-9111, book a free in-home consultation, or check the towns we serve across Bergen County. Hardware that has come loose or a panel that no longer tracks is often a repair rather than a replacement.
Wrap Up: Your Windows, Your Style
Hanging drapes well is mostly discipline. Measure twice, mount higher and wider than feels natural, buy enough fabric for real fullness, and finish the folds instead of leaving the panels flat. On an oversized, arched or sliding-door opening, have someone measure it with you before any fabric gets cut.